

The True Power of Twitter – Marketing Essentials
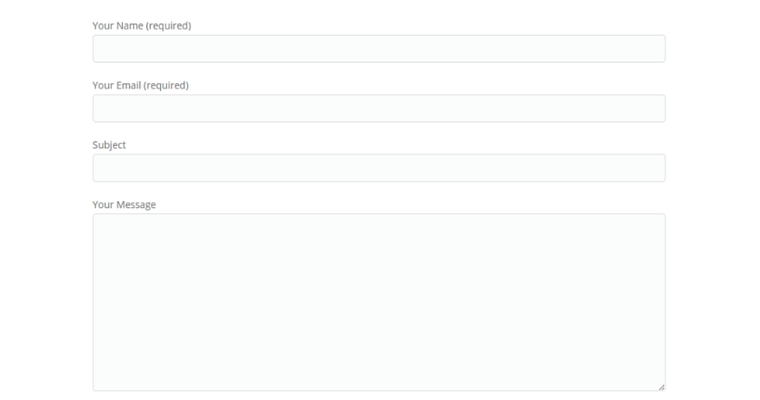
The next plugin you should install is Contact Form 7. Whatever business you have you want people to be able to contact you whether they have a questions or they want to use your services.
After the plugin is installed and activated there will be a “Contact” tab on your sidebar.
Let’s create a new form from scratch together. Click on “Contact” then on the top you will see a blue button that says “Add New.”
Now select the language, for the website’s default language select “Add New.” Now we need to name the form, let’s call it “TEST 1.” The basic form that currently shows is Name, Email, Subject, Message, SEND button. If this enough, that’s great, but let’s look at some other options, just so that we can learn together.
Above the text box you will see a row of options. When you click on the options a pop up will come up and give you some options. As opposed to going through each tool and explaining how they work I think it makes more sense to direct you on how to find the answers. When you click on an option, on the top of the pop up there is a link that explains in detail how to use each tool.
This form builder allows you to do a lot more than just text boxes. You can use “drop-down menu” to make a list of options for customers to choose from. A checkbox list to allow them to select which services they are interested in learning more about. There is a radio buttons option (for when you want to limit them to one option). The tool labeled “acceptance” allows you to make a checkbox asking if they accept the terms and conditions. If you want to make a test, not sure why you would want this, but you can use “quiz.” (Their site claims it’s for when you can’t use “reCAPTCHA.”)
“reCAPTCHA” is a great tool to make sure the person submitting the form is actually human, and not a robot. To set it up you need to go to Google to create a key, then simply copy paste the information in the Contact Form Integration section (found on the sidebar). After the integration is set up simply put the code [recaptcha] directly above the submit button.
The next tool is “file” which is great if you want your users to submit a picture of their item (if it needs fixing or for any other reason.) The one thing you need to be very careful with about files is that it can be very easy for a hacker to crash a site by putting too many large files onto the site, so you want to make sure to limit the files to things like .jpeg, .png, .pdf, .xls, .doc, things you recognize, and then limit the file size to 2mb so that there is no chance of the site crashing (also, you should definitely include a reCAPTCHA if you plan to have this in your form.)
The last tool is “submit” which allows you choose what the submit button says. Many studies show that uses words other than “Submit” will increase the likelihood that someone will fill out the form.
After you are finished with your form you need to go to the “mail” section and set up how you get the information that your customer filled out. For all of the inputs you have on the form there is a shortcode that you simply copy paste into the message body. After you set up who you want the emails to send to and what you want sent don’t forget to save.
For simplicity sake leave the “Messages” tab and go to additional settings. If you know code then this is a great option, but one line of code you should know is “on_sent_ok: “location.replace(‘Thank you page URL’);”” If you copy paste this code into here then when the form is complete it will automatically forward to this URL.
This is a really fantastic plugin, but it can take some time to master, so don’t get frustrated! If you want to see the one I have on my site check out my services page.
There are even possibilities of linking the form to a Paypal account and then people can get an email forwarded to them to pay for a service. The possibilities are endless.
If you have any questions you can ask me.
Comments
Related posts


